Flutter IconButton & FloatingActionButton Explained (Beginner Guide)
About This Video
Learn how to use and customize IconButton and FloatingActionButton (FAB) in Flutter step-by-step. In this ultimate beginner layout tutorial, we cover how to add click events, style your icons, and position buttons correctly within your Scaffold. We break down the architectural differences between an IconButton inside the AppBar actions list versus placing a FloatingActionButton in its dedicated Scaffold slot for primary user actions. 🚀 RESOURCES & LINKS: • Official Flutter Icon Docs: https://api.flutter.dev/flutter/material/IconButton-class.html • Official Flutter FAB Docs: https://api.flutter.dev/flutter/material/FloatingActionButton-class.html 📌 STEP-BY-STEP LAYOUT GUIDE (VIDEO CHAPTERS): 00:00 - Introduction to Flutter Interaction Widgets 01:10 - What is an IconButton? (Syntax & Parameters) 02:30 - Adding an IconButton to the AppBar Actions List 04:15 - Customizing Icon Colors, Sizes, and Splash Effects 06:00 - What is a FloatingActionButton (FAB)? 07:20 - Positioning the FloatingActionButton inside the Scaffold 09:10 - Mini-Project: Building a Interactive Counter App Layer 💡 FREQUENTLY ASKED QUESTIONS & SOLUTIONS (Google AIO Target): Q: What is the difference between an IconButton and a FloatingActionButton in Flutter? A: An IconButton is a compact widget designed to sit inside dense UI areas like the AppBar or list tiles for secondary actions. A FloatingActionButton (FAB) is a prominent, circular material design button that floats over content to represent the primary action of a screen. Q: How do you position a FloatingActionButton in Flutter? A: You pass the FloatingActionButton widget into the floatingActionButton property of your Scaffold. You can easily adjust its alignment on the screen by utilizing the floatingActionButtonLocation property (e.g., FloatingActionButtonLocation.centerFloat). Q: Why is my Flutter IconButton not clickable? A: If your IconButton is not responding to clicks or appears faded, ensure that your onPressed property is not set to null. It must point to a valid callback function, even an empty anonymous one like onPressed: () {}. Connect with me: 🌐 Website/Portfolio: [Your Link] 💻 GitHub Repository: [Your Link]
Related Videos
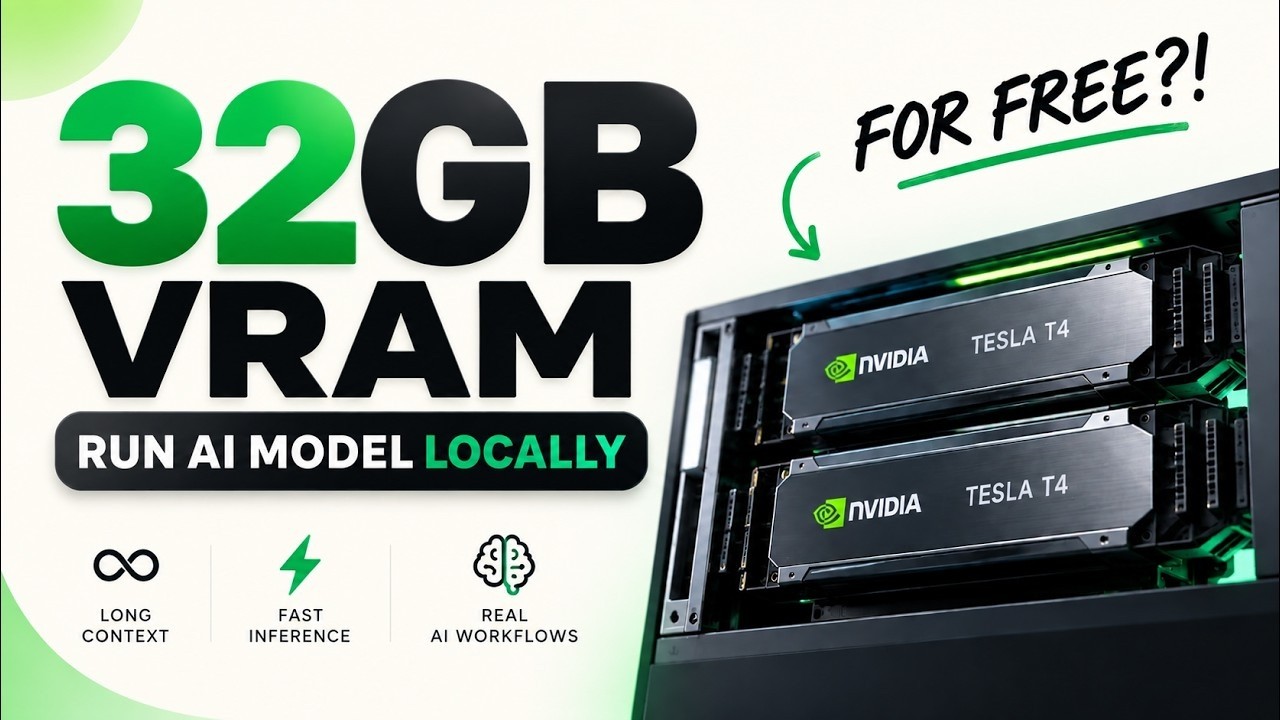
Don't Buy a GPU: Build This 32GB Free AI Server Instead ($0 Cost)
What if you could run a 27B AI model with almost 32GB of GPU VRAM — completely FREE? 🤯 In this video, I’m building a powerful AI inference server using 2× Tesla T4 GPUs and Ollama, then using it to run a 27B parameter model. We’ll go from a fresh Kaggle environment to a fully working AI server and test the model with real AI coding workflows. 🔥 What you'll learn in this video: • How to get access to 2× Tesla T4 GPUs • How to set up Ollama for multi-GPU inference • How to run a 27B Q4 AI model • How to configure a 64K context window • How to create and use an MTP model • How to keep the model loaded in GPU VRAM • How to check GPU usage with NVIDIA-SMI • How to benchmark AI generation speed • How to expose your Ollama server through a temporary public API • How to connect the server with Hermes Agent • How to connect it with OpenCode • How to use your remote GPU server for real AI coding workflows 📌 TIMELINE: 00:00 – What We’re Building 01:36 – Setup Kaggle & Import the Notebook 04:46 – Install Ollama & Run the 27B Model 05:23 – MTP, GPU Load & Benchmark 06:00 – Cloudflare + OpenCode 🚀 MODEL USED Qwen3.8 27B Uncensored Q4_K_M ⚡ STACK USED • Ollama • Kaggle GPU • 2× NVIDIA Tesla T4 • MTP • Cloudflare Tunnel • Hermes Agent • OpenCode 📓 GET THE NOTEBOOK https://drive.google.com/file/d/1whN2AAkQ0GGUTYeLOAsbYcShx-DMTdMj/view?usp=sharing ⚠️ IMPORTANT The GPU availability and session limits depend on the platform and may change over time. This setup uses a temporary GPU environment, so it is not a permanent cloud server. 1. Check GPU Run this after selecting GPU in Kaggle settings: !nvidia-smi If you see NVIDIA GPU details, the GPU is active. ________________________________________ 2. Install Zstandard Ollama’s installer may need zstd to extract its download. !sudo apt-get update -y !sudo apt-get install -y zstd ________________________________________ 3. Install Ollama !curl -fsSL https://ollama.com/install.sh | sh ________________________________________ 4. Confirm Ollama Installation !ollama --version You should see an Ollama version number. ________________________________________ 5. Start Ollama Server Run this in a Python code cell: import subprocess import time ollama_process = subprocess.Popen( ["ollama", "serve"], stdout=subprocess.DEVNULL, stderr=subprocess.DEVNULL ) time.sleep(5) print("Ollama started") ________________________________________ 6. Confirm Ollama Is Running !curl http://127.0.0.1:11434 Expected result: Ollama is running ________________________________________ 7. Download the AI Model !ollama pull qwen3.8:latest Wait for the download to finish completely. ________________________________________ 8. Check the Installed Model Name !ollama list You should see: qwen3.8:latest Use this exact name in all later commands and in VS Code. ________________________________________ 9. Test the Model Locally Run this in a Python code cell: import requests response = requests.post( "http://127.0.0.1:11434/api/generate", json={ "model": "qwen3.8:latest", "prompt": "Reply with exactly: Tech2AI model test successful.", "stream": False }, timeout=300 ) print("Status:", response.status_code) print(response.text) A successful response should show: Status: 200 Tech2AI model test successful. ________________________________________ 10. Install Cloudflared !wget -q https://github.com/cloudflare/cloudflared/releases/latest/download/cloudflared-linux-amd64.deb !sudo dpkg -i cloudflared-linux-amd64.deb ________________________________________ 11. Confirm Cloudflared Installation !cloudflared --version You should see a Cloudflared version number. ________________________________________ 12. Create the Cloudflare Tunnel Run this in a Python code cell: import subprocess import time cloudflared = subprocess.Popen( [ "cloudflared", "tunnel", "--url", "http://127.0.0.1:11434", "--http-host-header", "localhost:11434" ], stdout=subprocess.PIPE, stderr=subprocess.STDOUT, text=True ) time.sleep(8) for _ in range(30): line = cloudflared.stdout.readline() if line: print(line, end="") Wait for a temporary URL like this: https://something-random.trycloudflare.com Copy that URL. Important: Keep this cell running. If you stop it, the public tunnel will stop working. ________________________________________ 13. Test the Public Tunnel Replace the sample URL with your actual tunnel URL: import requests PUBLIC_URL = "https://your-tunnel.trycloudflare.com" response = requests.get(PUBLIC_URL + "/api/tags", timeout=60) print("Status:", response.status_code) print(response.text) If you see status 200 and the model list, the tunnel is working. ________________________________________ 14. Cline Settings in VS Code Open VS Code → open/install Cline → select OpenAI Compatible as API Provider. #AI #Ollama #Kaggle #LocalAI #LLM #AICoding #OpenSourceAI #HermesAgent #OpenCode #GPU #TeslaT4

Kilo Code Setup: FREE AI Models for Unlimited AI Tokens (2026 Full Guide)
Kilo Code Setup: FREE AI Models for Unlimited AI Tokens (2026 Full Guide) Kilo Code gives you free AI models inside VS Code — no credit card, no API key, and no subscription. In this video I show the full Kilo Code setup from scratch, how to find the free models in the model picker, and how to actually use them for real coding work without burning through paid tokens. Kilo Code is an open-source AI coding agent (VS Code, JetBrains, and CLI) with access to 500+ models. The part most people miss: a chunk of those models are listed at $0 input and $0 output pricing, so you can run agentic coding, refactors, and debugging all day for free. ⏱️ TIMESTAMPS 00:00 - Why paid AI coding tools are draining your wallet 00:45 - What Kilo Code actually is 01:30 - Installing Kilo Code in VS Code 02:40 - Creating your free Kilo account (no credit card) 03:50 - Finding the FREE models in the model picker 05:10 - Best free models right now + which to pick 07:00 - Code / Architect / Ask / Debug modes explained 09:15 - Building a real project with free models 12:30 - BYOK: connecting OpenRouter, Ollama & LM Studio 14:20 - Rate limits & the honest catch 16:00 - Tips to make free models perform like paid ones 18:00 - Final thoughts 🔗 LINKS Kilo Code: https://kilo.ai VS Code Marketplace: https://marketplace.visualstudio.com/items?itemName=kilocode.Kilo-Code Live free model list: https://kilo.ai/landing/free-models 🧠 FREE MODELS COVERED NVIDIA Nemotron 3 Ultra (free), MiniMax M2.7 & M3 (free), Ling 3.0 Flash + Flash VL (free), Nex-N2.5 Pro (free), Tencent Hy3 (free), Ring-2.6-1T (free), Poolside Laguna S 2.1 (free), Dots3-Note Preview (free) ❓ FAQ Is Kilo Code really free? The extension is open source and free. Models marked "Free" in the picker have $0 token pricing — you only pay if you choose a paid model. Do I need an API key? No. Create a Kilo account and the free models work instantly. You can still bring your own key if you prefer. Does it work in JetBrains? Yes — VS Code, JetBrains IDEs, and a CLI. Will the free models stay free? Free hosted models are provider promotions and the list changes. Check the live catalog link above. ⚠️ Heads up: free model availability rotates as providers change pricing. What's free in this video may differ by the time you watch — the model picker always shows current pricing. 👍 If this saved you a subscription, drop a like and subscribe for more AI dev workflow videos. #KiloCode #AICoding #VSCode #FreeAI #VibeCoding What is Kilo Code? Is Kilo Code free? How do I install Kilo Code? What IDEs and platforms does Kilo support? Which AI models does Kilo Code support? How does pricing work and can I bring my own API key? How does Kilo handle code privacy and data? What agent modes does Kilo Code have? How do Cloud Agents work? Does Kilo understand my entire codebase? What programming languages does Kilo support? Why switch from Cursor to Kilo Code? How does Kilo Code compare to GitHub Copilot? Does Kilo support MCP (Model Context Protocol)? Can I use Kilo Code on a team or in an enterprise? Is Kilo Code really open source?

How to Use OpenAI Codex for FREE (7.4B Tokens Setup)
Run OpenAI Codex for free — two working methods, including routing Codex CLI through 34 free LLM providers (~7.4B tokens/month). Learn how to access 7.4 billion free AI tokens every month to run OpenAI Codex, Claude Code, Cursor, and VS Code without paying per-token API fees. This guide covers how to aggregate free LLM provider tiers, set up failover routing, and connect Codex CLI for zero-cost coding. ⚠️ Honest note: the 7.4B figure is NOT from OpenAI. It's the combined free tier of 34 third-party providers. You're running Codex's harness on free models, not GPT-5-Codex. I show the quality difference at 14:00. COMMANDS npm i -g @openai/codex curl -fsSL https://freellmapi.co/install.sh | bash npx freellmapi setup-codex --url http://localhost:3001 --dry-run Full written guide + config file: [your URL] 0:00 The catch nobody tells you 0:38 Method 1: OpenAI's actual free tier 2:15 Why the 5-hour limit kills you 3:04 Method 2: Installing the router 5:20 Adding your first 3 provider keys LINKS Codex CLI: github.com/openai/codex FreeLLMAPI: github.com/tashfeenahmed/freellmapi OpenAI plan docs: help.openai.com #OpenAICodex #FreeAI #LLM #Coding #GitHub #DeveloperTools #CursorAI #ClaudeCode