Ling 3.1 Flash is FREE Now!? - Here's How to use it
About This Video
Ling 3.1 Flash is now free to use. I tested the model in OpenCode and Cline to see if it handles real coding tasks. Ling 3.1 Flash is available for free across major platforms, including OpenCode, Kilo Code, and Cline. This model features 560B total parameters with 25B active and a 262K context window, making it a significant option for developers looking to integrate powerful AI into their workflows. I walk through the setup process for each tool and perform a real-world coding test to evaluate performance. Whether you are building with AI coding agents or just testing new model availability, these results will help you determine which integration works best for your specific setup. Note that Cline's free access currently runs through October 13. Subscribe for weekly AI performance breakdowns, and let me know in the comments if you want to see a test with larger parameter sizes next. 0:00 Ling 3.1 Flash is free? 0:40 What the model is (560B / 25B active) 1:40 OpenCode setup 3:30 Kilo Code setup 5:00 Cline setup (Oct 13 deadline) 6:30 Real coding test 10:00 Results + which tool is best 11:30 Limits and what to watch out for Note: benchmark figures are provider-reported. Free offers can change.
Related Videos

Use GPT 6 Astra FREE in Codex (Free Unlimited Codex with GPT 6)
In this video, I'm walking you through how to set up and configure the GPT-6 Astra model with your local development environment using Flagship Router. This is an educational tutorial about local model configuration and development tool management—all standard practices that developers use for their workflows. 📌 What This Video Covers: Cloning the Flagship Router repository from the official source Installing Node.js and project dependencies with npm install Running the launch command to build and start the local router Logging into the Flagship Router web interface Turning off the API key requirement for smoother operation Exploring the model library—336 models available with 86 ready to use Finding and testing the GPT-6 Astra model Copying the model identifier for configuration Using the CLI Tools section to configure your development application Applying the model configuration and launching your app Verifying the setup with a live test prompt Confirming the connection through Flagship Router ⚙️ How It Works: Flagship Router is a local routing tool that helps developers manage connections between their coding applications and various model providers. In this tutorial, I demonstrate how to configure it with the GPT-6 Astra model and integrate it with development tools using standard local proxy techniques. 🛠️ Prerequisites: Node.js installed on your system Git installed for cloning the repository Basic familiarity with terminal or command prompt A development application or code editor installed 🔗 Resources Mentioned: Flagship Router Repository: https://github.com/theRizwan/FlagshipRouter Node.js Official Website: https://nodejs.org 📝 Disclaimer: This video is for educational and informational purposes only. It demonstrates standard local development environment configuration techniques using open-source tools and models. The tools and methods shown are intended for personal learning and legitimate development workflows. Always ensure you comply with the terms of service of any software or platform you use. 💬 Have questions about the setup or ran into an issue? Drop a comment below and I'll personally help you out. 🔔 Subscribe to Rizwan for more coding tutorials, development environment setups, and tech guides every week. #GPT6Astra #FlagshipRouter #LocalDevelopment #CodingSetup #AIModels #ProgrammingTutorial #Rizwan

OmniRoute Setup on Mac: 1.62 Billion FREE AI Tokens/Month (Claude,GPT,Gemini)
OmniRoute is a free, open-source AI gateway that puts 90+ free-tier providers behind ONE local endpoint. In this video, I show you the complete OmniRoute setup on Mac, from install to connecting Claude Code, Cursor, Cline, and Codex, so you can code with free AI models and automatic fallback. 🔥 What you'll learn: - What OmniRoute is and how the free-token math works (~1.6B tokens/month) - Installing OmniRoute on macOS with npm - Opening the dashboard and connecting free providers - Using the local endpoint (http://localhost:20128/v1) in your AI tools - Auto-routing and combos: fallback when one provider hits its limit - Token compression to stretch your free limits further - Honest limits: what "free" really means ⏱️ Chapters: 0:00 Intro: Are billions of free tokens real? 0:45 What is OmniRoute? 2:00 Prerequisites (Node.js, Terminal) 3:00 Install OmniRoute on Mac 4:30 Dashboard walkthrough 6:00 Connecting free providers 09:00 Auto-routing & fallback combos 💻 Commands used: npm i -g omniroute 🔗 Links: OmniRoute GitHub: https://github.com/diegosouzapw/OmniRoute Node.js: https://nodejs.org Note: the token numbers come from the project's own aggregation of documented free tiers. Actual availability depends on the providers you sign up for and their limits, which can change. 👍 If this helped, like and subscribe for more AI tools and developer tutorials. #OmniRoute #FreeAI #AIGateway #ClaudeCode #MacSetup
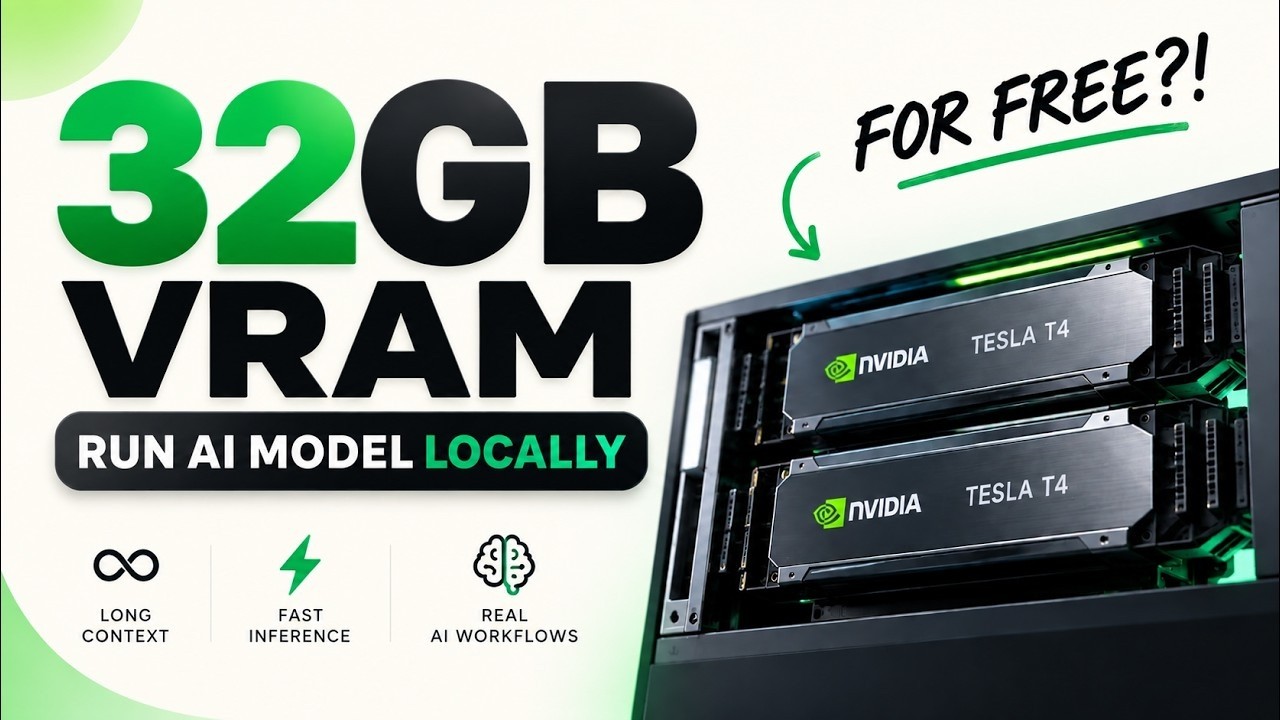
Don't Buy a GPU: Build This 32GB Free AI Server Instead ($0 Cost)
What if you could run a 27B AI model with almost 32GB of GPU VRAM — completely FREE? 🤯 In this video, I’m building a powerful AI inference server using 2× Tesla T4 GPUs and Ollama, then using it to run a 27B parameter model. We’ll go from a fresh Kaggle environment to a fully working AI server and test the model with real AI coding workflows. 🔥 What you'll learn in this video: • How to get access to 2× Tesla T4 GPUs • How to set up Ollama for multi-GPU inference • How to run a 27B Q4 AI model • How to configure a 64K context window • How to create and use an MTP model • How to keep the model loaded in GPU VRAM • How to check GPU usage with NVIDIA-SMI • How to benchmark AI generation speed • How to expose your Ollama server through a temporary public API • How to connect the server with Hermes Agent • How to connect it with OpenCode • How to use your remote GPU server for real AI coding workflows 📌 TIMELINE: 00:00 – What We’re Building 01:36 – Setup Kaggle & Import the Notebook 04:46 – Install Ollama & Run the 27B Model 05:23 – MTP, GPU Load & Benchmark 06:00 – Cloudflare + OpenCode 🚀 MODEL USED Qwen3.8 27B Uncensored Q4_K_M ⚡ STACK USED • Ollama • Kaggle GPU • 2× NVIDIA Tesla T4 • MTP • Cloudflare Tunnel • Hermes Agent • OpenCode 📓 GET THE NOTEBOOK https://drive.google.com/file/d/1whN2AAkQ0GGUTYeLOAsbYcShx-DMTdMj/view?usp=sharing ⚠️ IMPORTANT The GPU availability and session limits depend on the platform and may change over time. This setup uses a temporary GPU environment, so it is not a permanent cloud server. 1. Check GPU Run this after selecting GPU in Kaggle settings: !nvidia-smi If you see NVIDIA GPU details, the GPU is active. ________________________________________ 2. Install Zstandard Ollama’s installer may need zstd to extract its download. !sudo apt-get update -y !sudo apt-get install -y zstd ________________________________________ 3. Install Ollama !curl -fsSL https://ollama.com/install.sh | sh ________________________________________ 4. Confirm Ollama Installation !ollama --version You should see an Ollama version number. ________________________________________ 5. Start Ollama Server Run this in a Python code cell: import subprocess import time ollama_process = subprocess.Popen( ["ollama", "serve"], stdout=subprocess.DEVNULL, stderr=subprocess.DEVNULL ) time.sleep(5) print("Ollama started") ________________________________________ 6. Confirm Ollama Is Running !curl http://127.0.0.1:11434 Expected result: Ollama is running ________________________________________ 7. Download the AI Model !ollama pull qwen3.8:latest Wait for the download to finish completely. ________________________________________ 8. Check the Installed Model Name !ollama list You should see: qwen3.8:latest Use this exact name in all later commands and in VS Code. ________________________________________ 9. Test the Model Locally Run this in a Python code cell: import requests response = requests.post( "http://127.0.0.1:11434/api/generate", json={ "model": "qwen3.8:latest", "prompt": "Reply with exactly: Tech2AI model test successful.", "stream": False }, timeout=300 ) print("Status:", response.status_code) print(response.text) A successful response should show: Status: 200 Tech2AI model test successful. ________________________________________ 10. Install Cloudflared !wget -q https://github.com/cloudflare/cloudflared/releases/latest/download/cloudflared-linux-amd64.deb !sudo dpkg -i cloudflared-linux-amd64.deb ________________________________________ 11. Confirm Cloudflared Installation !cloudflared --version You should see a Cloudflared version number. ________________________________________ 12. Create the Cloudflare Tunnel Run this in a Python code cell: import subprocess import time cloudflared = subprocess.Popen( [ "cloudflared", "tunnel", "--url", "http://127.0.0.1:11434", "--http-host-header", "localhost:11434" ], stdout=subprocess.PIPE, stderr=subprocess.STDOUT, text=True ) time.sleep(8) for _ in range(30): line = cloudflared.stdout.readline() if line: print(line, end="") Wait for a temporary URL like this: https://something-random.trycloudflare.com Copy that URL. Important: Keep this cell running. If you stop it, the public tunnel will stop working. ________________________________________ 13. Test the Public Tunnel Replace the sample URL with your actual tunnel URL: import requests PUBLIC_URL = "https://your-tunnel.trycloudflare.com" response = requests.get(PUBLIC_URL + "/api/tags", timeout=60) print("Status:", response.status_code) print(response.text) If you see status 200 and the model list, the tunnel is working. ________________________________________ 14. Cline Settings in VS Code Open VS Code → open/install Cline → select OpenAI Compatible as API Provider. #AI #Ollama #Kaggle #LocalAI #LLM #AICoding #OpenSourceAI #HermesAgent #OpenCode #GPU #TeslaT4